At Southlakes 4×4 we stock a variety of suspension lift kits for a wide range of vehicles as well as offering an expert installation process right here. If you are looking to install your own suspension lift kit at home, it’s important that you know what you’re doing. It can be a lengthy process and you need to make sure you have the right tools and a safe way to lift your car up. Here is our guide to installing a suspension lift kit.
Table of contents
Preparing for installation
First of all, you need to make sure you have all of the correct parts that come with your lift kit, so check the manual. Read the instructions as each lift kit will be slightly different. You’ll also need the right tools including an impact wrench, bushings, extra nuts and bolts, a lug wrench and a hammer. If you need to pre-assemble any parts of your suspension kit it is worth doing this now too.
Lifting the car
Now you’ll need to jack the car up to the correct height, with separate jacks for each axle so you can easily access the parts you need to get to. You should also use safety stands if possible which are appropriate for the weight of your vehicle.
Removing the existing suspension kit
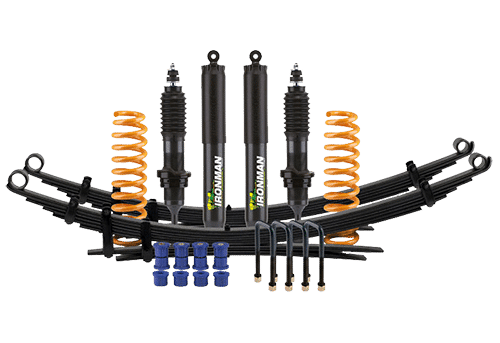
Remove the wheels and tyres. It is important that you remove the existing suspension kit in the right order. First, take out the shocks, then the U-blots, then the springs. If you want to keep these put them to one side and keep everything together.
Installing the suspension lift kit
You will need to install the parts in the reverse order to how you took them off. Now you need to grease the bushings and hammer them into the springs that came with your kit. Now bolt them in place one by one and attach the new U-bolts – make sure they are vertical to align properly with the upright springs. Next, you need to assemble the shocks and then you can install them. Use a torque wrench to tighten all of the fastenings. Make sure everything is really secure.
Steering stablisation system
You may need to replace the steering stabilisation system and this process will involve a drop pit man arm and the stabiliser. Disconnect any mechanisms that prevent access to the stabiliser. Install the new brackets whilst ensuring that the stabiliser is positioned between them correctly. Then you can fully tighten everything and install the drop pit arm.
Safety checks
Once everything is attached and tightened you can remove the safety stands and slowly lower your vehicle. Keep it level as much as you can. If you have a rear suspension lift kit you can follow the steps above but you don’t need to do the steering stabilisation system again for the rear wheels. Now your new suspension lift kit has been installed, take your car for a spin and make sure everything feels right. Check with a mechanic if you have any concerns.
Get your kit
Now you know how to install suspension lift kits, you need to find the right kit for your vehicle. Browse our range and order your suspension lift kit from Southlakes 4×4 today. We also stock various other 4×4 accessories.
If you live in the area around Morisset NSW and would like us to install your lift kits for you, give us a call on 02 4973 6009, we’re happy to install them for you and make sure everything is safe for your next 4WD adventure.
Recent Comments